
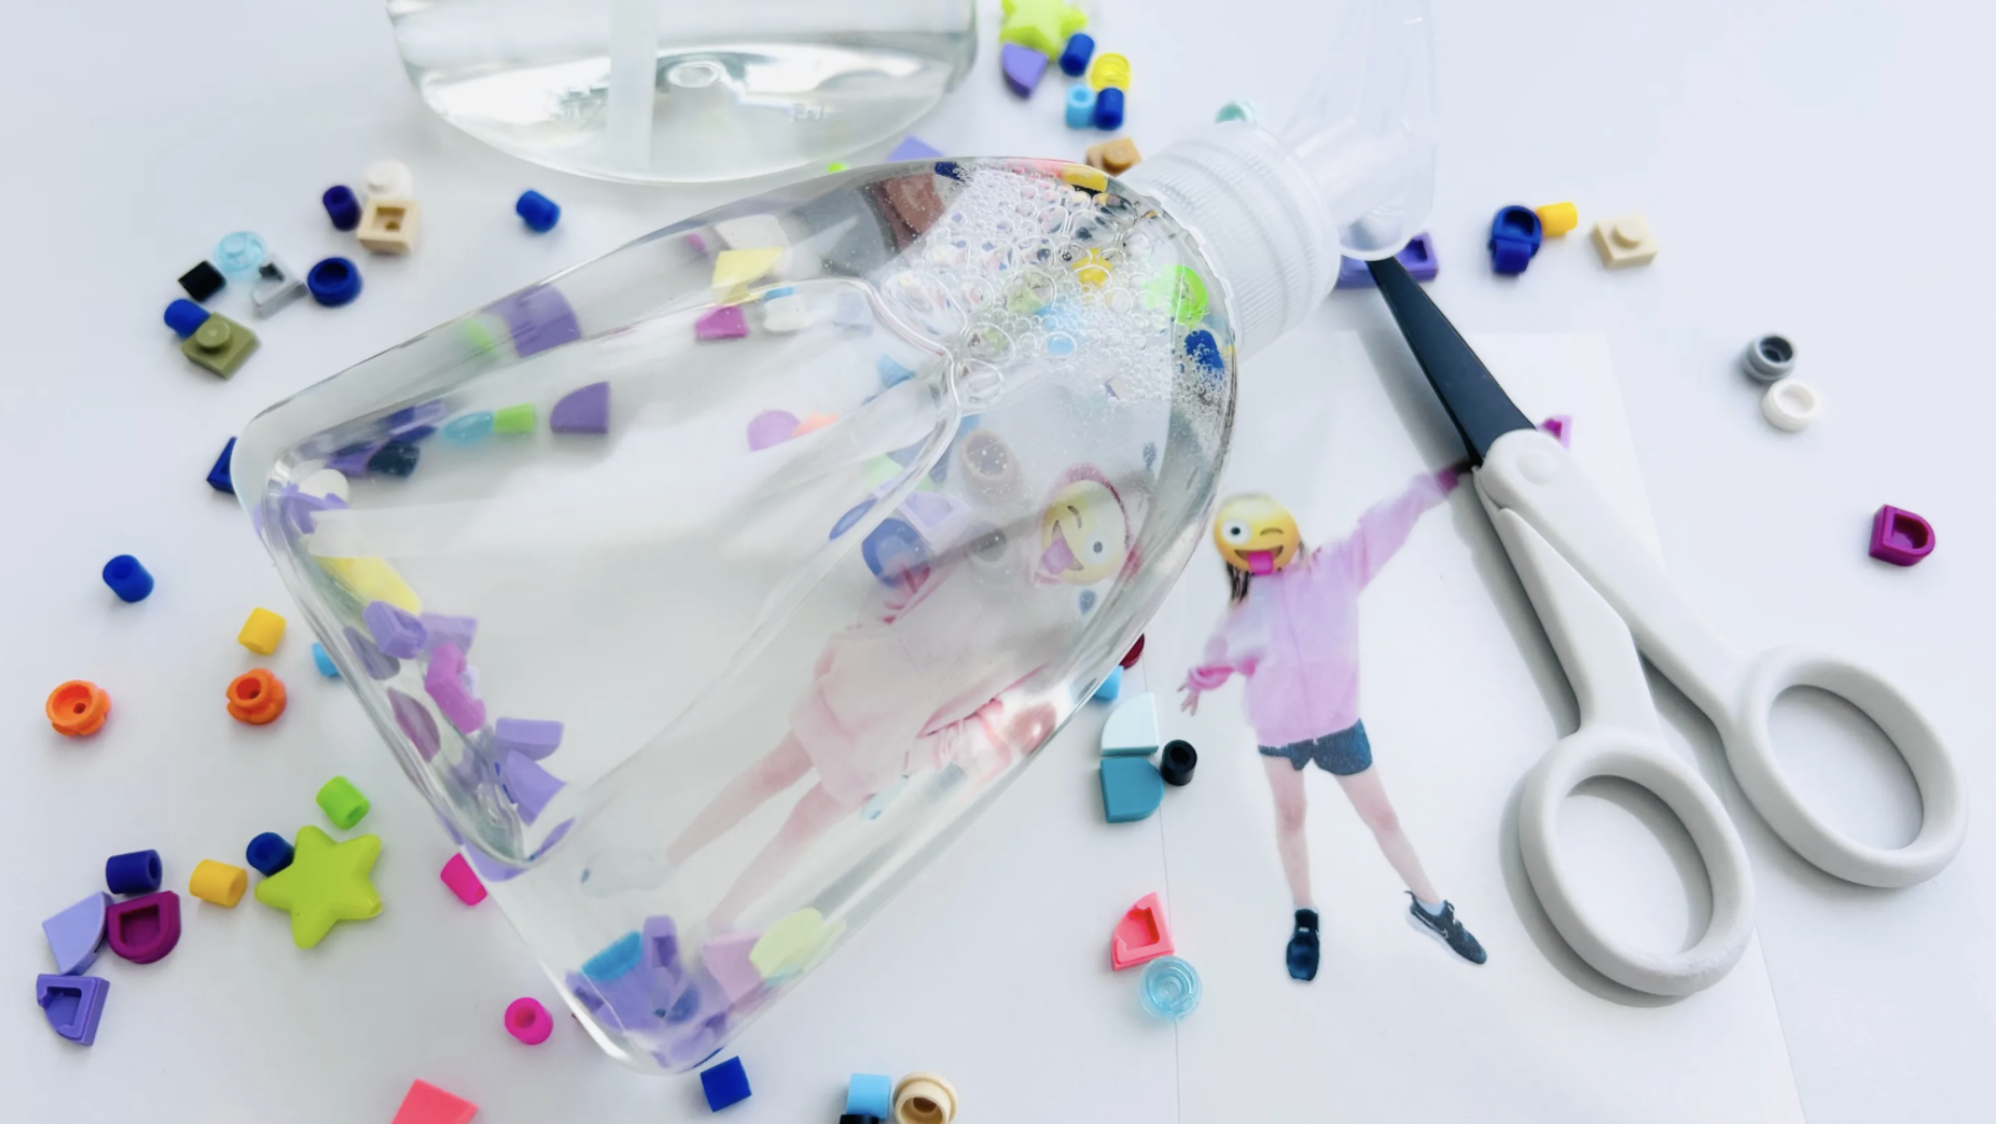
This idea started as a simple way to make an everyday routine a little more fun during the Covid pandemic, when handwashing became especially important. This party craft has been an instant favourite with both children and parents, combining creativity with a practical purpose.
Even today, it’s still a popular idea that many people ask about because it’s easy to make and enjoyable for all ages. Personalised soap also makes a lovely party favour, as it can be adapted in many different ways, including themed designs and small decorative elements. The possibilities are endless!
In this post, I’ll show you how to create your own DIY photo soap at home using just a few simple materials. You’ll find the full list of materials at the end of this post.

1. Measure Your Soap Bottle
First, gather all your materials and remove any labels or stickers from the soap bottles before starting. Then, check how tall your bottle is. This will help you decide how large your printed photo should be.

2. Print and Cut Out the Photo
Print your photo on the transparent foil using a laser printer. For the best result, use a photo without a background or crop it so the main subject stands out.
Carefully cut out the printed photo with scissors. The photo doesn’t need to be cut precisely. It’s easier to leave a small border around it, and because the foil is transparent, it won’t be visible inside the soap.

4. Place the Photo in the Bottle
Roll the photo slightly if needed and drop it into the soap bottle so it rests inside the liquid soap.
Tip: Photos with strong and darker colours usually show up better in the soap. Lighter photos can work too, but the image may appear more subtle.

5. Add Decorations
Now comes the most fun part, especially for kids! Add your decorative elements into the bottle. You can mix colours and shapes to create a playful and unique design. And that’s it: your personalised photo soap is ready to use!

After spending time in the garden or crafting a flower crown, washing your hands is always a good idea! Kids absolutely love this craft, and it also makes a wonderful gift for playdate friends, grandparents, or party guests. Most importantly, it makes handwashing a little more fun! 🧼✨
If you try this DIY photo soap, I’d love to hear about it. Leave a comment below and tell me what decorations you used! 💬
To make your photo soap, you will need:
- A laser printer
- Liquid soap (transparent or very lightly coloured works best)
- Transparent printing foil
- Scissors
- Your favourite photo
- Small decorative elements
For decorations you can use things like:
- Small LEGO pieces
- Fuse or regular beads
- Tiny figures or toys that fit through the bottle opening
Leave a comment, I’m all ears!👂✨